The AmigaPCI is an OCS/ECS Amiga computer in the standard ATX form factor. Five PCI expansion slots, a flexible CPU Local Bus port, USB HID support, and dual-port ATA — built with original Amiga custom chips and modern off-the-shelf hardware.
Capabilities
Designed around the original Amiga custom chipset with modern expansion and connectivity built in from the ground up.
Five AUTOCONFIG PCI 5V/Universal slots based on PCI Local Bus Rev 2.3. Compatible with Prometheus mode for non-Amiga hardware. True DMA with full address space access.
No CPU or fast RAM on the main board — instead a DIN 41612 120-pin Local Bus port supports interchangeable CPU daughter cards optimized for MC68040 or MC68060 processors.
Two host-terminated AUTOBOOT ATA ports supporting up to 4 devices total (master & slave per port). 32-bit data transfer, powered by lide.device.
Two USB ports for HID keyboards and mice via an on-board STM32F205 microcontroller. The mouse seamlessly shares the JOY1 port with hardware arbitration and HID priority.
Two DB9 joystick ports, HD15 video output at 15 KHz, DB25 serial and parallel ports fully compatible with Amiga 500/600/1200/2000/3000/4000 peripherals.
Supports two internal DD floppy drives — both original Amiga drives and PC drives (selectable by jumper). Based on Ian Steadman's PC floppy interface adaptation.
Paula-generated audio through a filter circuit modelled on the Amiga 4000. Line-level 3.5 mm stereo output and a 4-pin CD audio header for optical drives.
Full Amiga OCS/ECS video bus for use with compatible video devices, in addition to 15 KHz HD15 output for direct connection to scan doublers or compatible monitors.
The STM32F205 emulates an RTC with an external 32 kHz crystal. All board voltages are readable via RTC address space registers. Fan RPM control via PWM.
The Story
This is a hobby project. To me, the Amiga has a personality that PCs of any era cannot hope to replicate. I got my first Amiga — an A500 — in 1992. In 1995, despite Commodore having gone out of business, I upgraded to a used A2000 with a GVP 030/SCSI card and flicker fixer.
Around 1998 I relented and built a PC. The Amigas went into the closet, rarely to see the light. Sadly, like so many, I ended up selling my original machines only for my interest to rekindle years later.
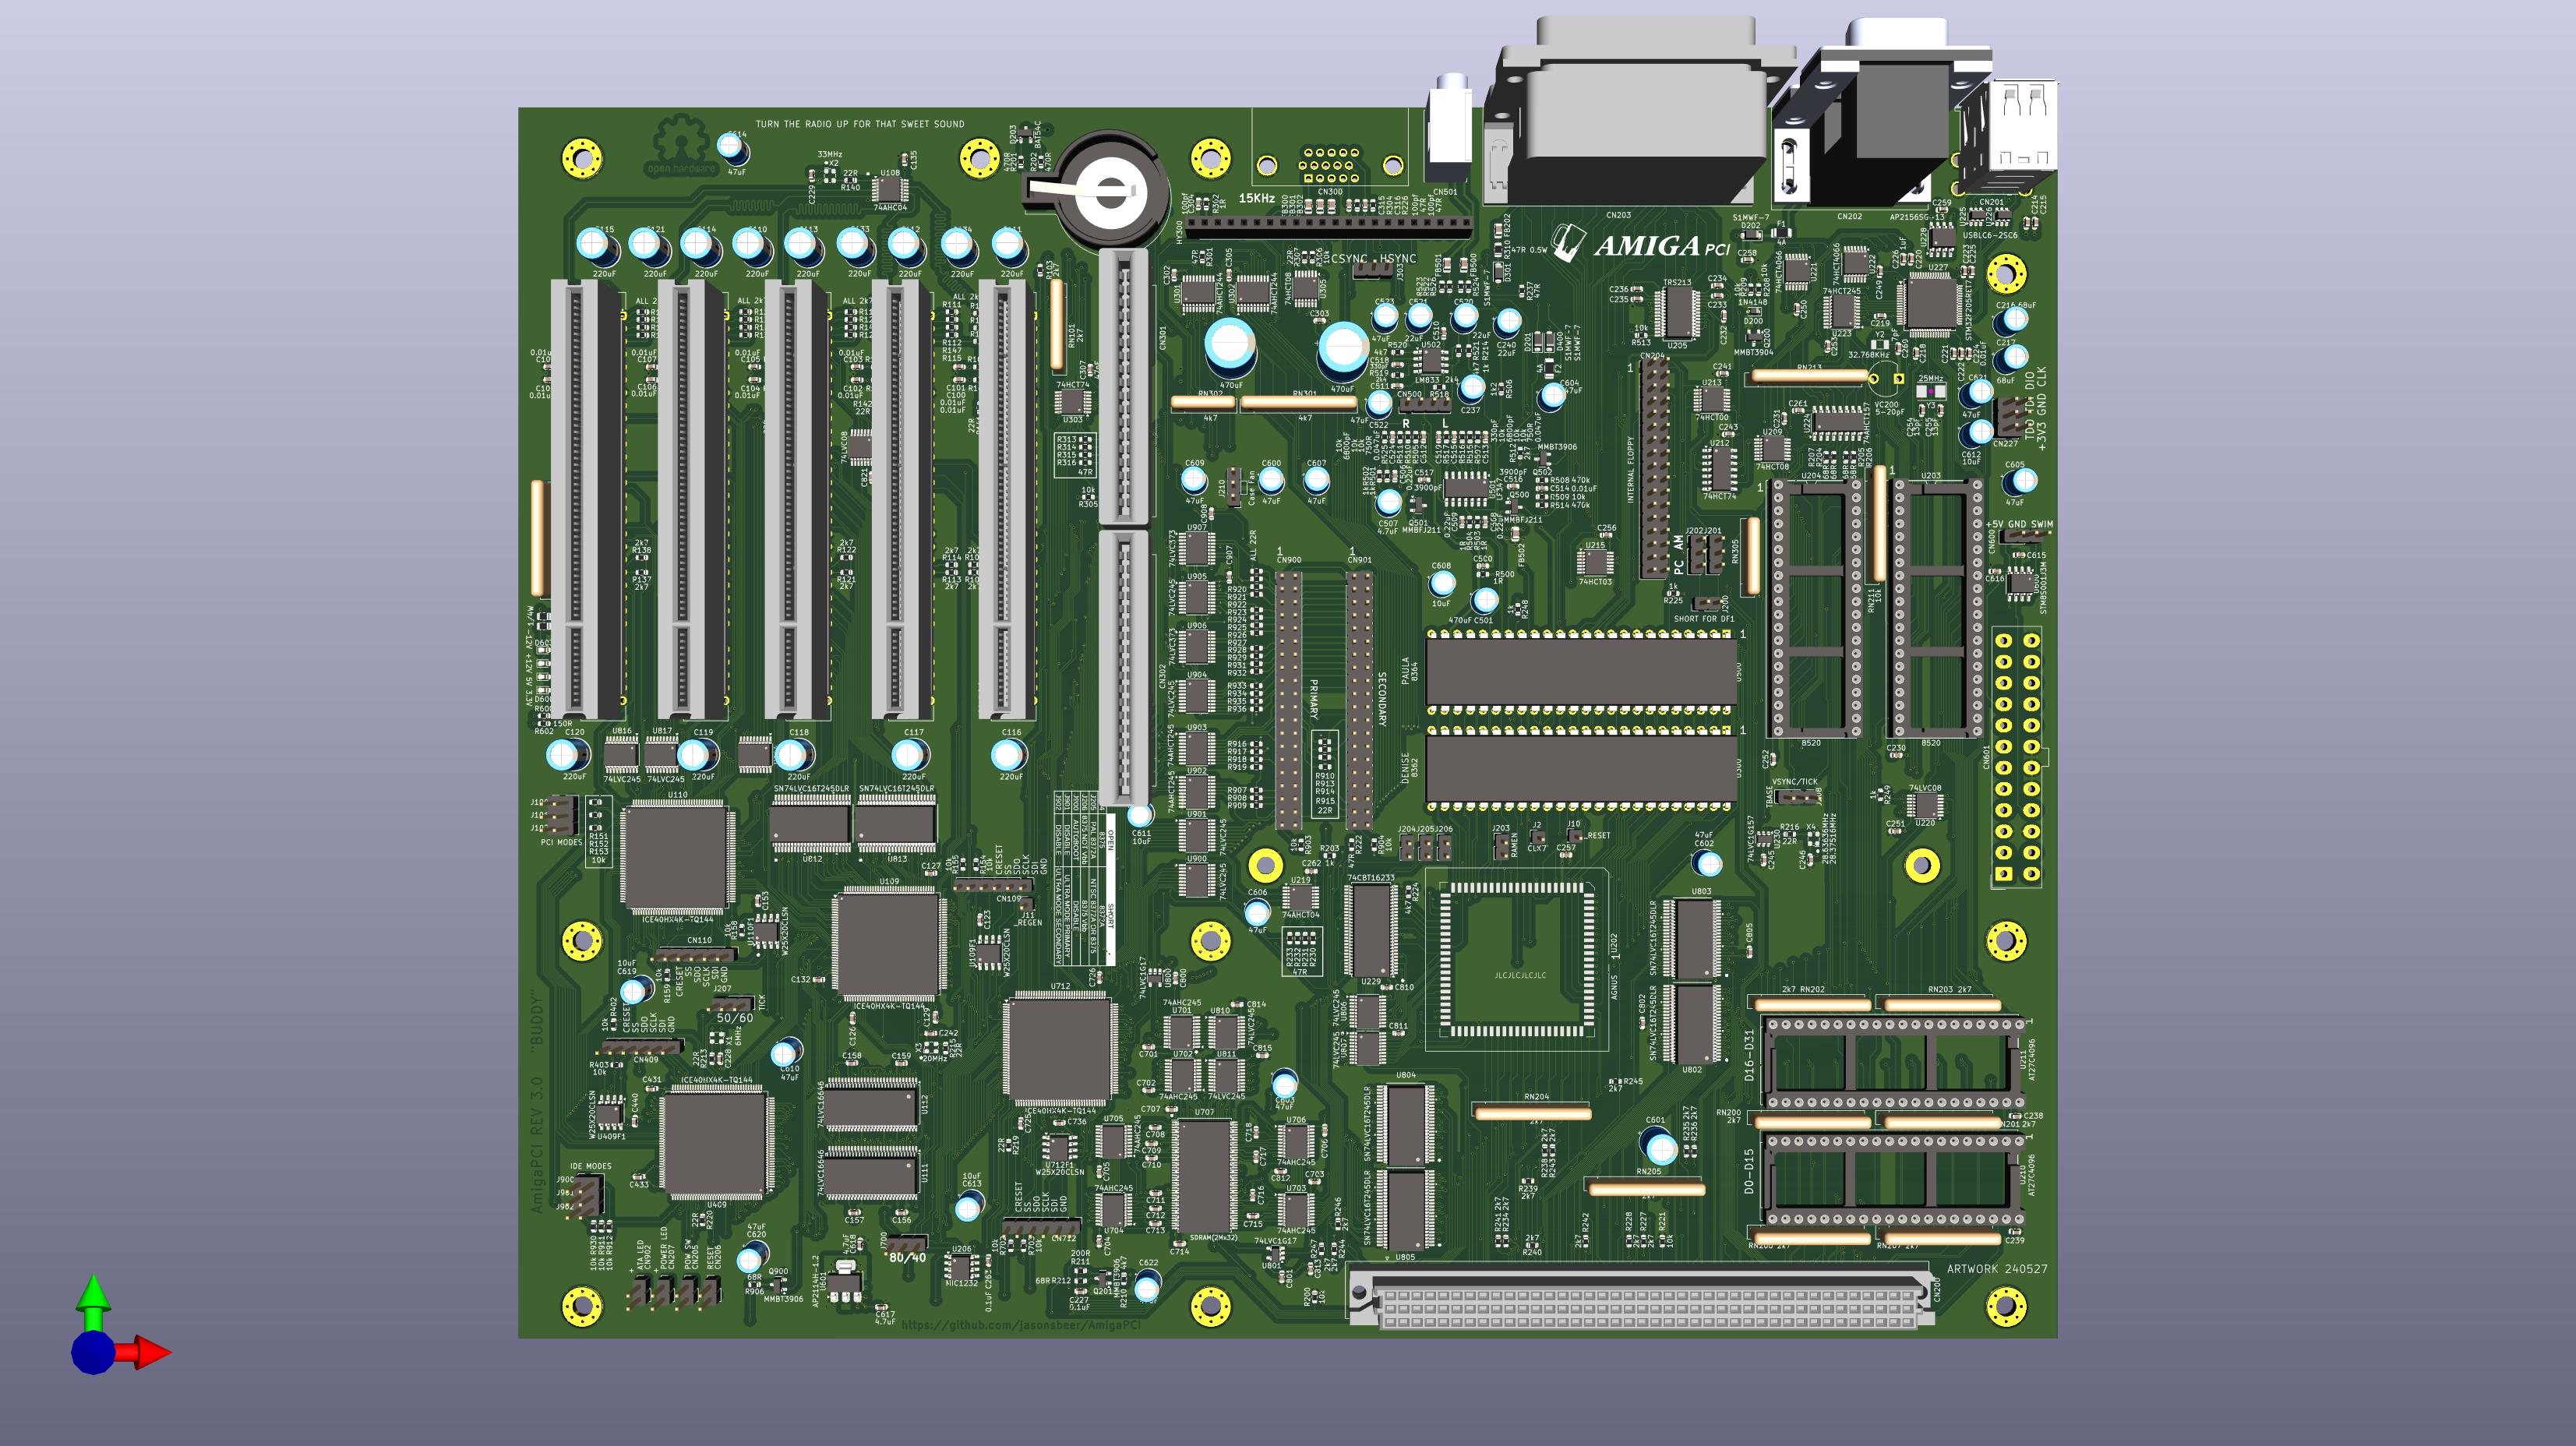
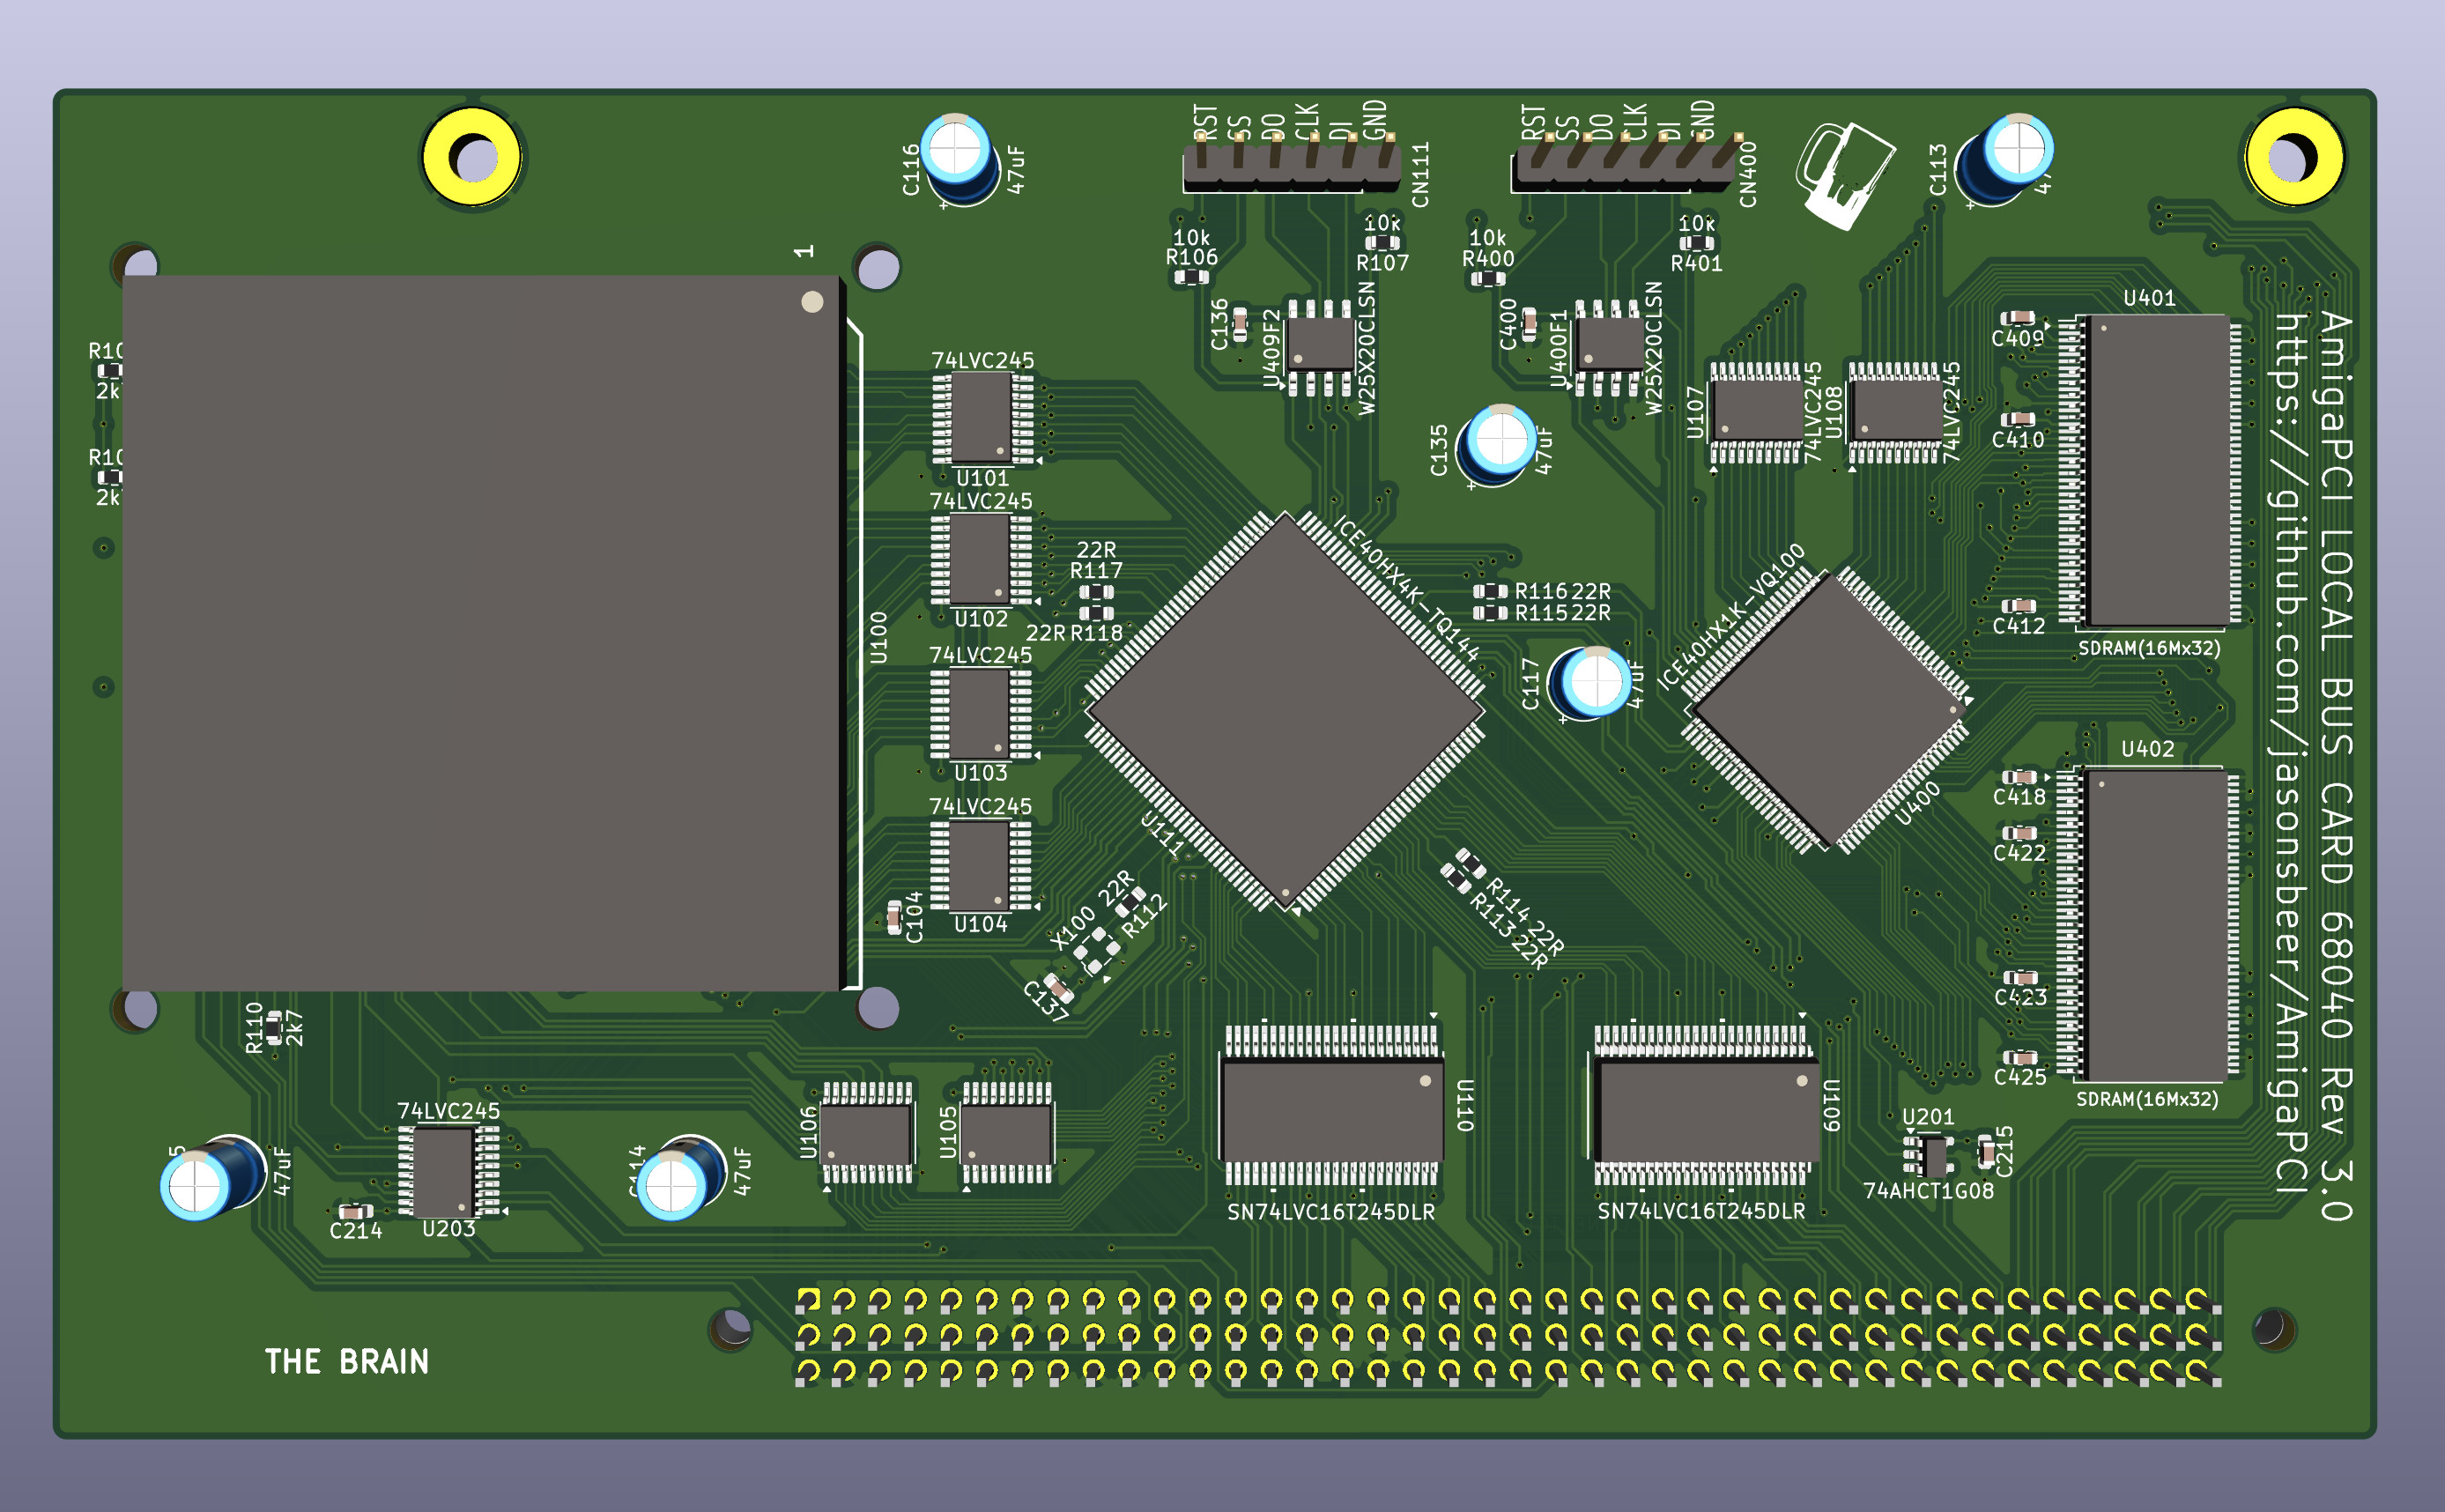
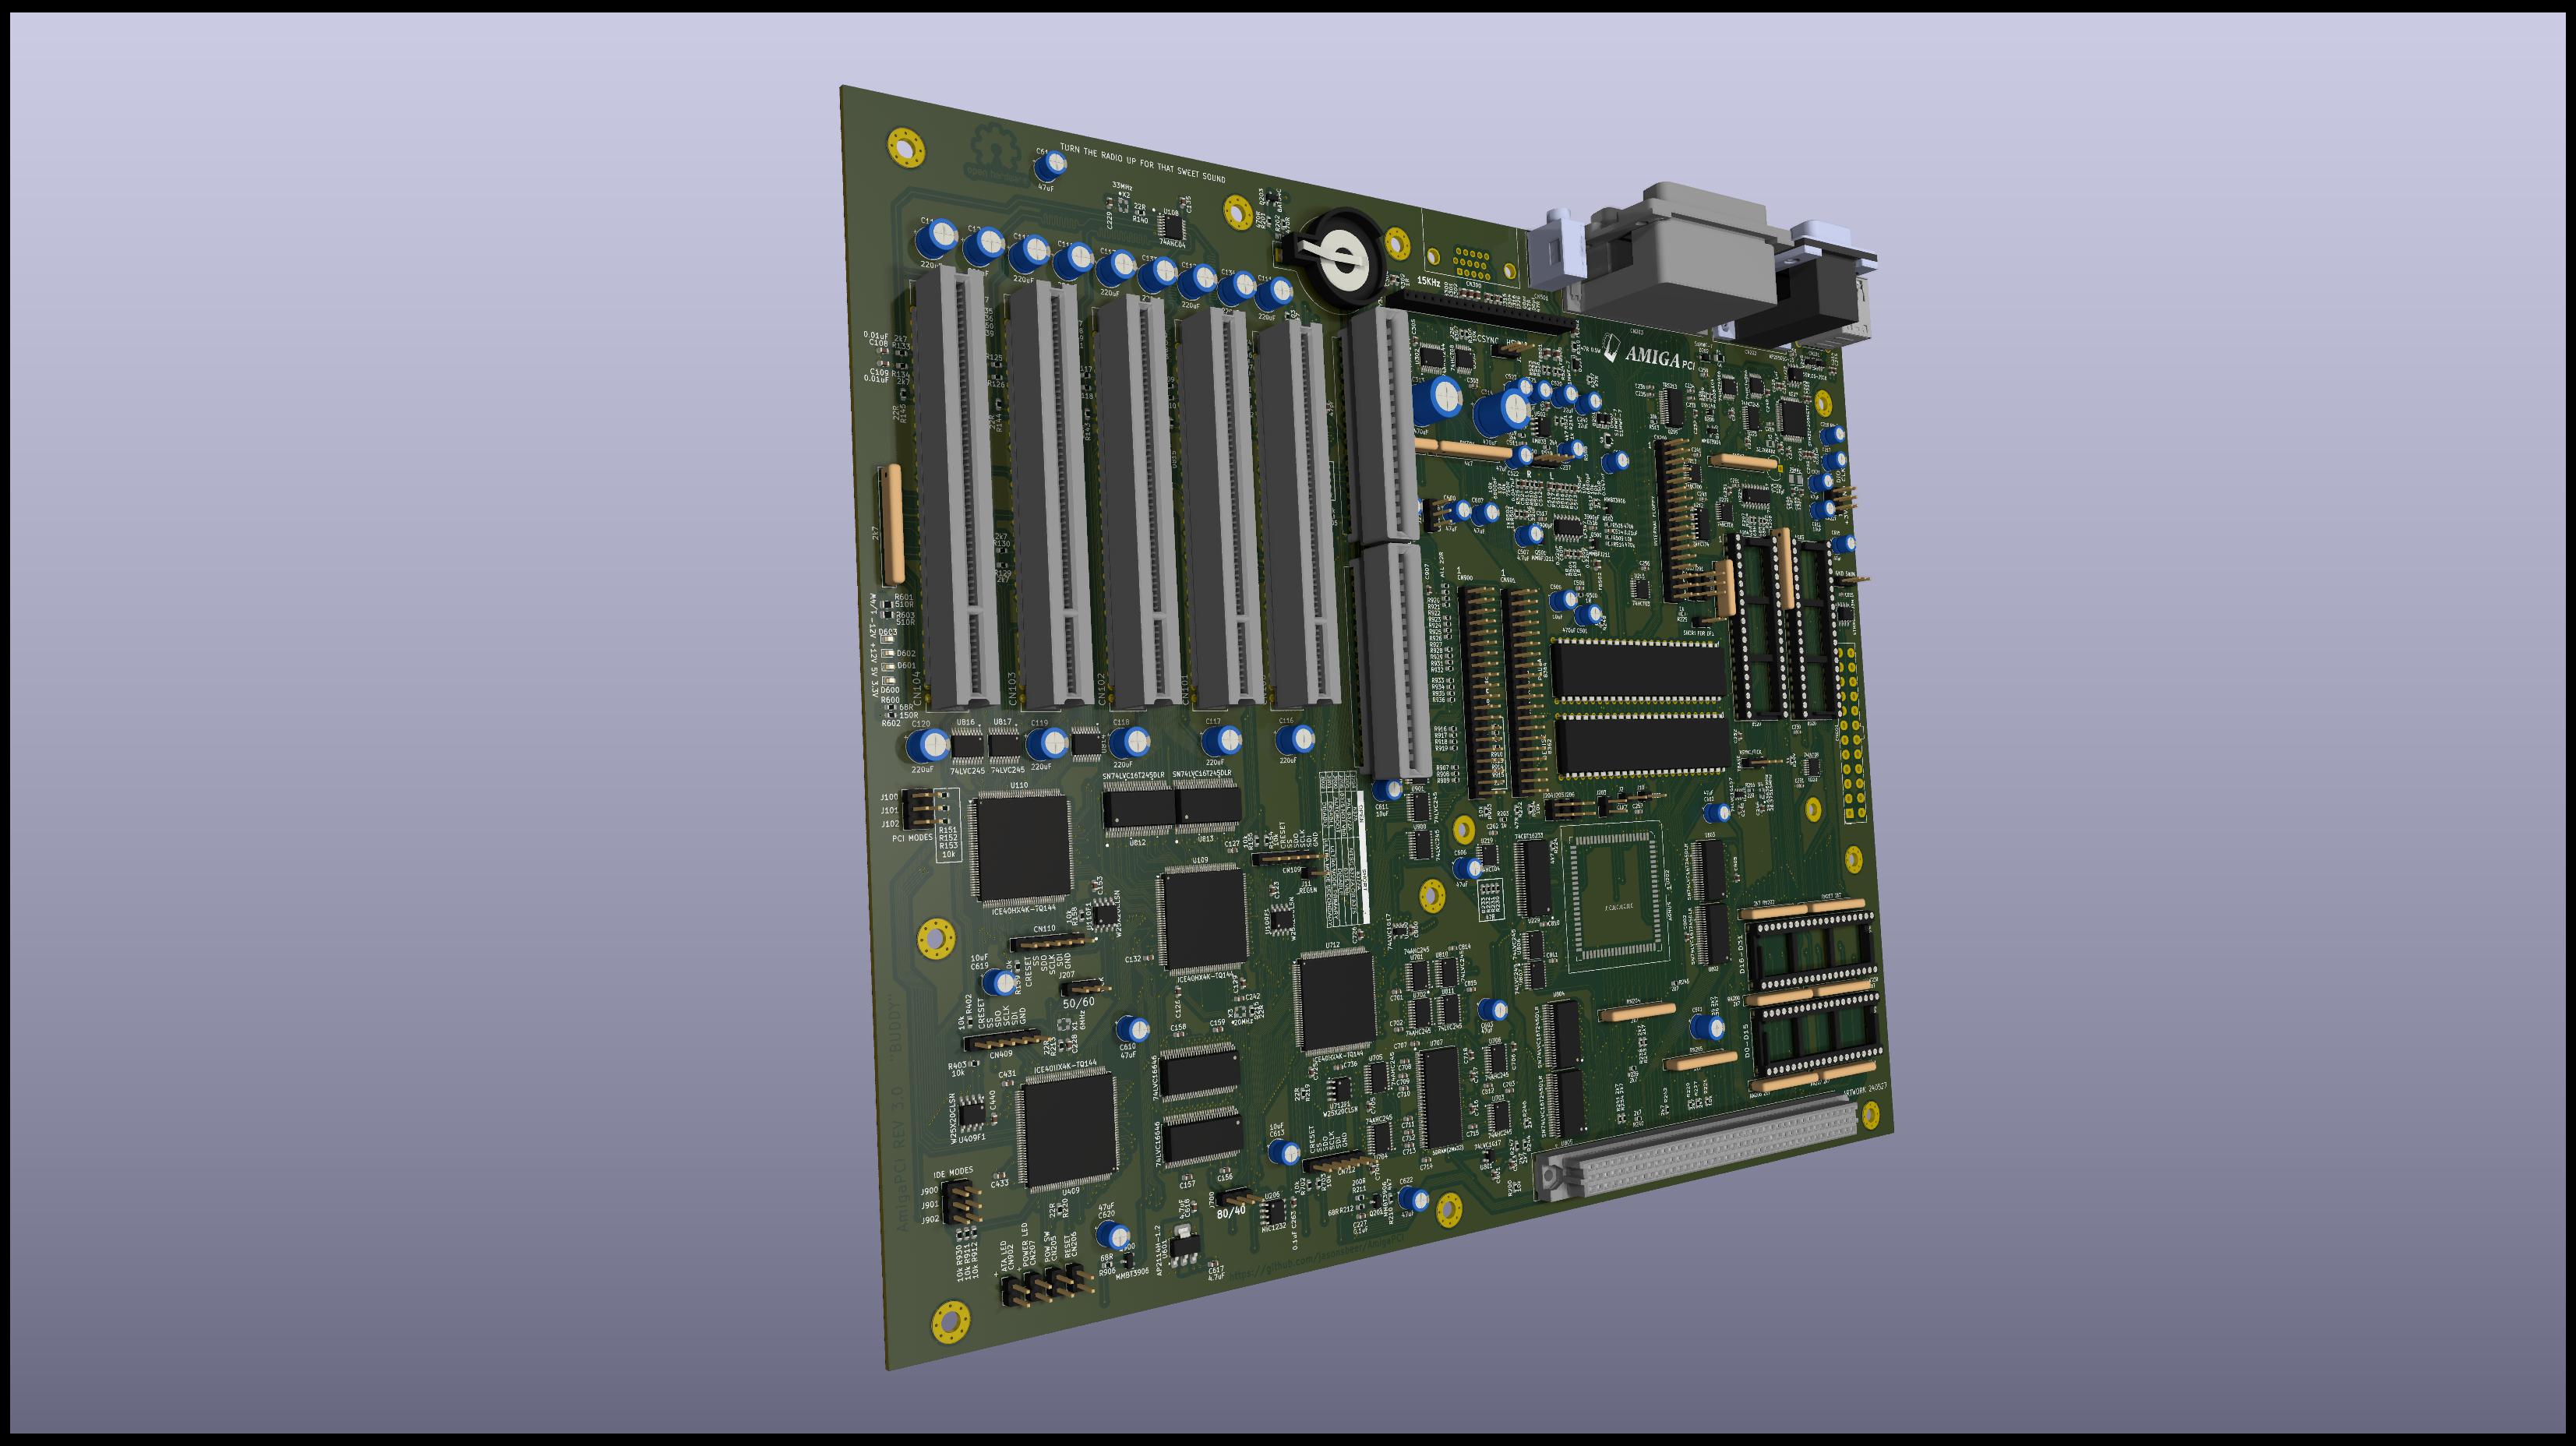
The purpose of my Amiga projects is to learn and hopefully share something of value with fellow Amigans — providing options for machines using modern components whenever possible. This gave rise to the A2000 EATX, the N2630, and now, the AmigaPCI.
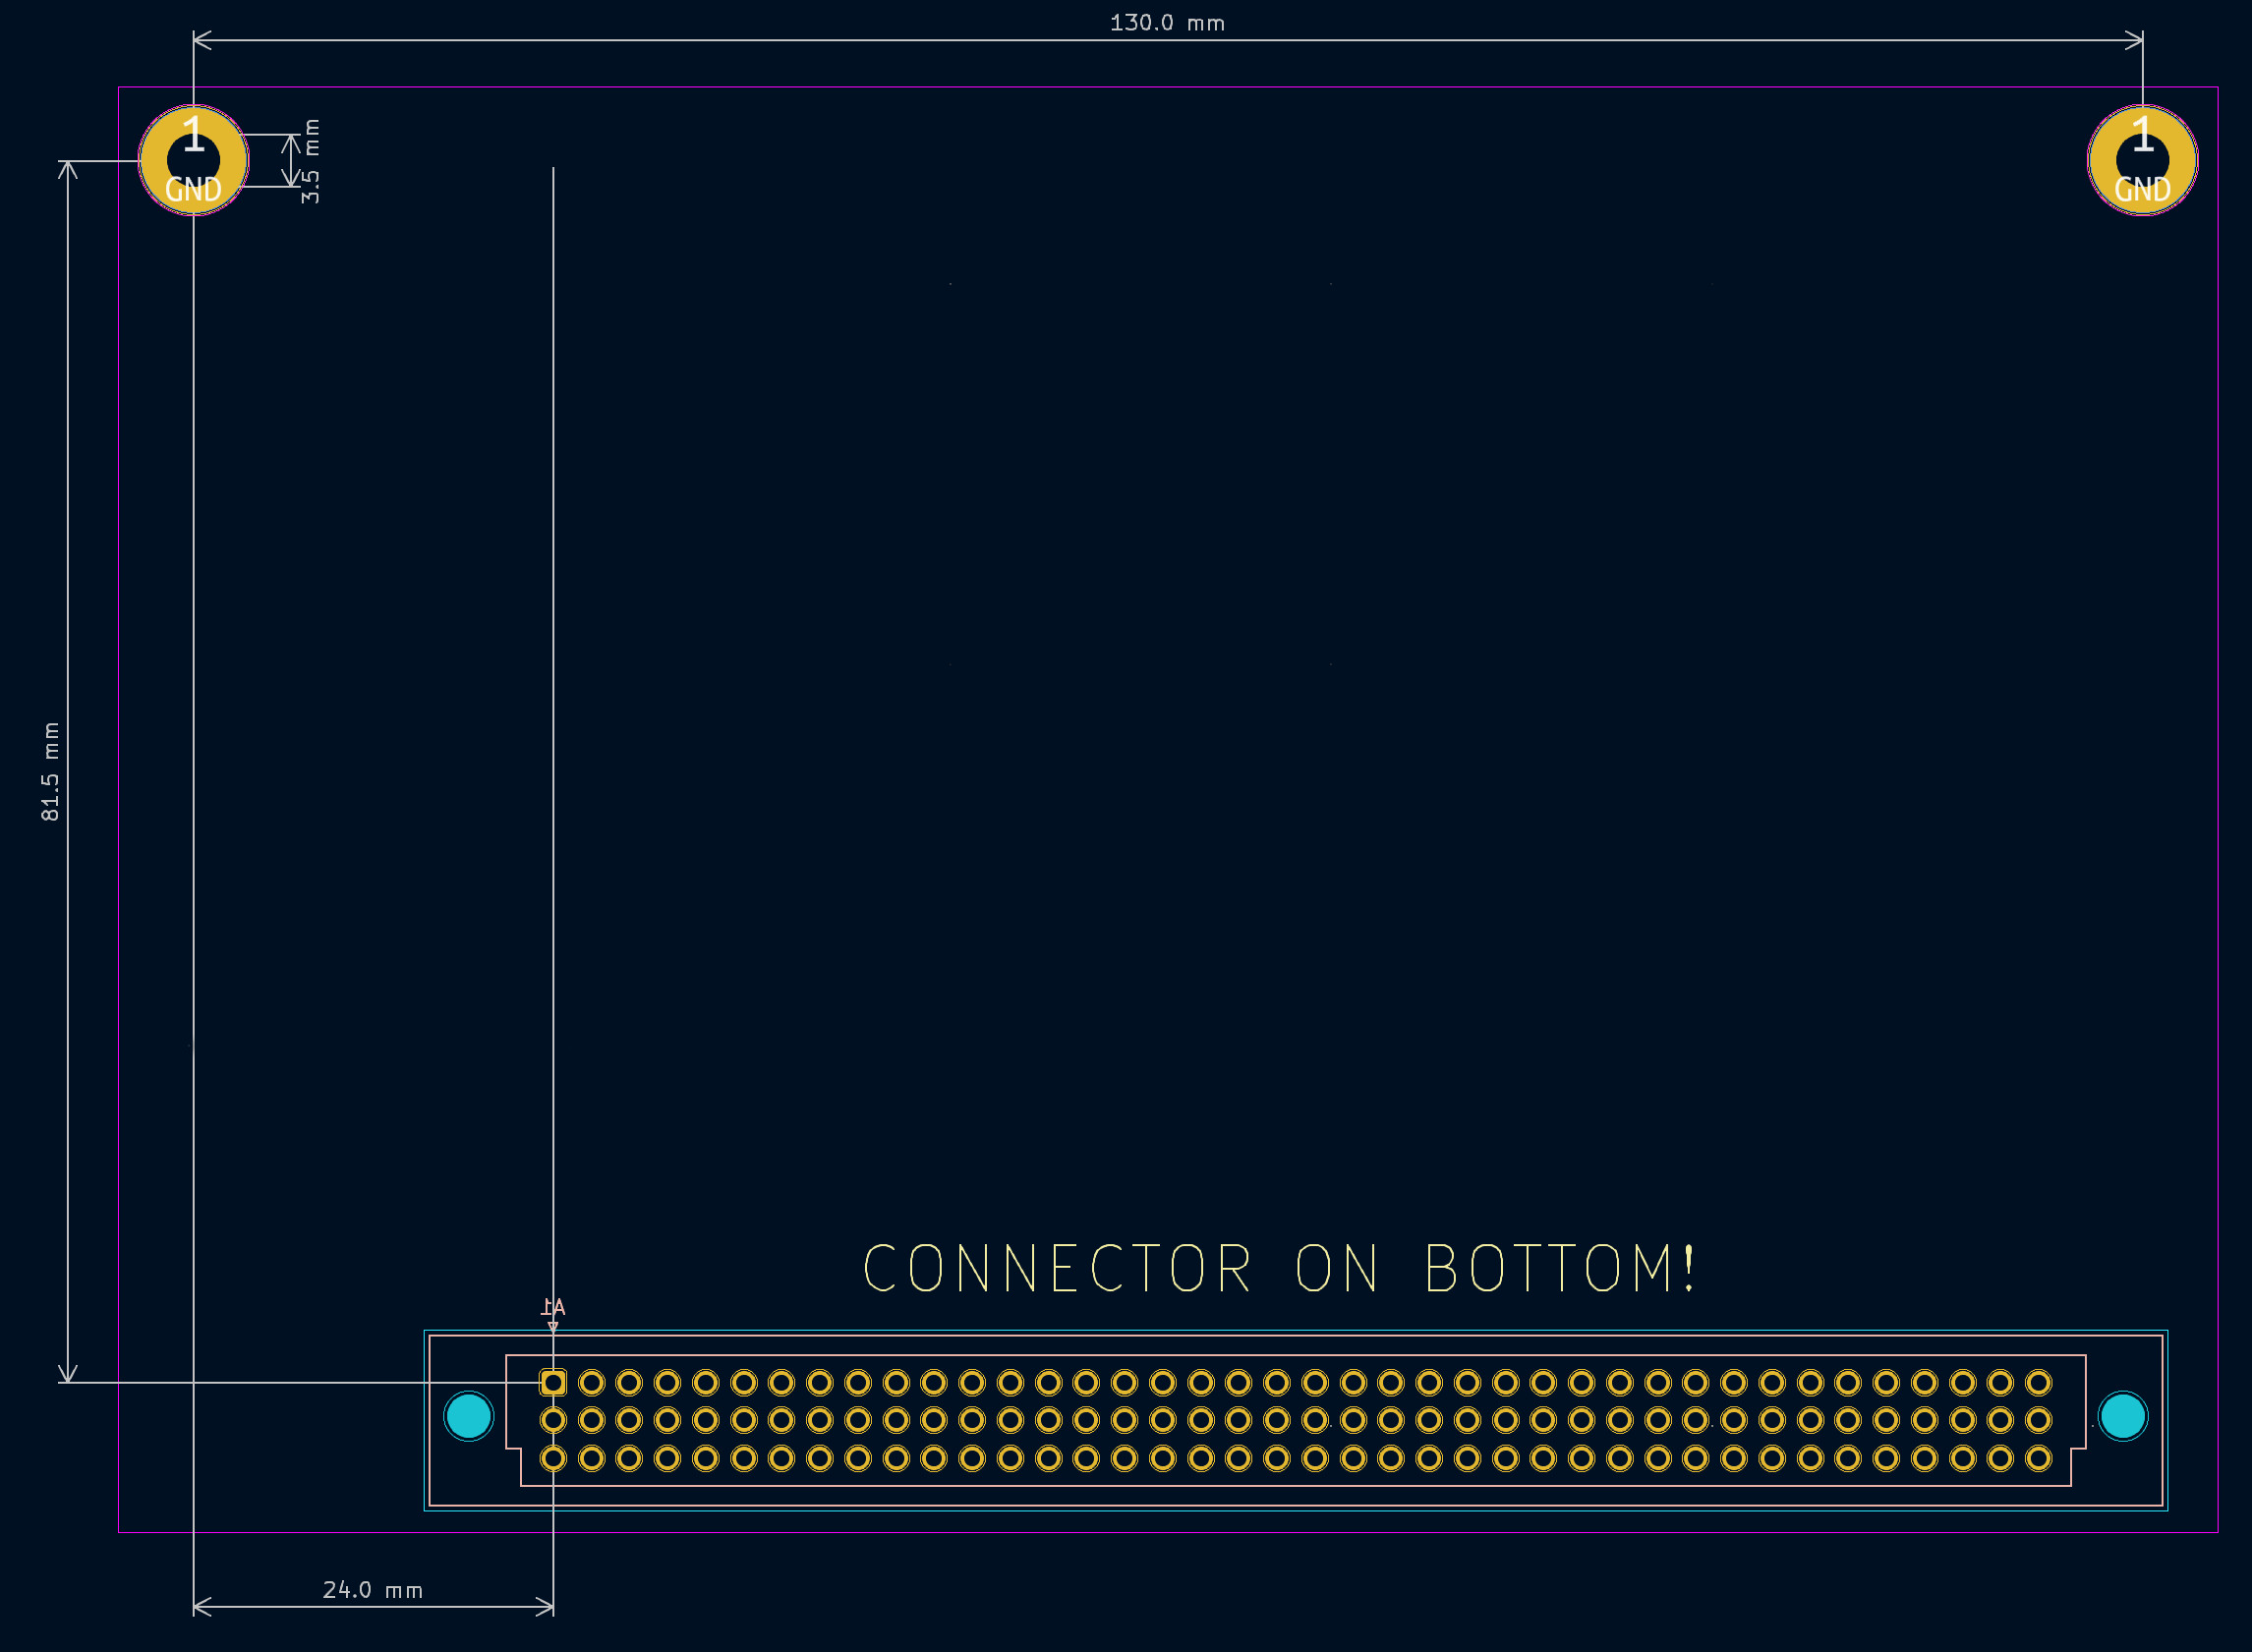
The AmigaPCI project is open hardware, licensed under Creative Commons Attribution-NonCommercial 4.0 International. Schematics, Gerbers, KiCAD files, Verilog source, and FPGA binaries are all available on GitHub.
CPU Local Bus daughter card — Rev 6 prototype
Technical Specifications
Key technical details of the Rev 6.0 prototype. All specifications subject to change.
| Chip | Part Number(s) | Package | Position | Status |
|---|---|---|---|---|
| Agnus (Fatter) | 8372A or 8375 (390544-01/02, 318069-10/11) | PLCC-84 | U202 | Tested |
| Paula | MOS 8364 | DIP-48 | U500 | Tested |
| Denise | MOS 8362 or CSG 8373 | DIP-48 | U300 | Tested |
| CIA × 2 | MOS 8520A, 8520A-1, 8520R2, or 8520PD | DIP-40 | U203, U204 | Tested |
| Video Hybrid | Commodore 390229-0x | SIP-22 | HY300 | Tested |
Gallery
Rev 6.0 engineering prototype boards.
Documentation
Technical guides for builders and developers. All documents are works-in-progress.
In-depth description of the AmigaPCI architecture — processor, expansion buses, chipset, memory, I/O, timing, and register maps.
Everything needed to develop PCI cards for the AmigaPCI — endianness, interrupts, AUTOCONFIG mode, Prometheus mode, and DMA.
Parts list, Agnus compatibility table, jumper settings, and practical notes for populating the board.
Step-by-step guide for programming the four Lattice iCE40 FPGA flash modules using iceprog and an FT232H interface.
Full KiCAD project files for the AmigaPCI mainboard and CPU Local Bus card.
Verilog source code and compiled BIN files for the four on-board Lattice iCE40 FPGAs.
Getting Started
A high-level overview of the build process. Refer to the full documentation for detailed instructions.
Use the Gerber files from the repository to order boards from your preferred PCB fabricator. Refer to the PCB ordering guide for recommended specs.
Gather the BOM components — including original Amiga custom chips (Agnus, Paula, Denise, CIA ×2, Video Hybrid) and the 27C4096 EPROMs for Kickstart.
Follow the Assembly Notes for placement, jumper settings, and Agnus compatibility. Check the floppy drive type jumpers before powering on.
Use an FT232H USB-to-SPI board and iceprog to flash the four Lattice iCE40 FPGAs in the recommended order. Power cycle when complete.
Discussions, questions, and hardware enhancement requests are welcome on Discord and GitHub Issues. Hardware enhancement requests are tracked in GitHub Issues — not actively considered during the prototype phase, but logged for future reference.